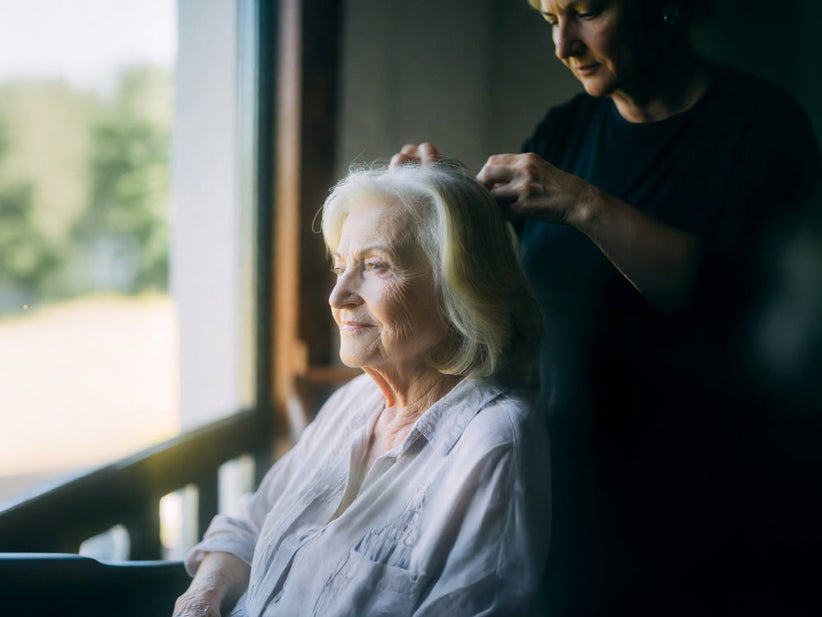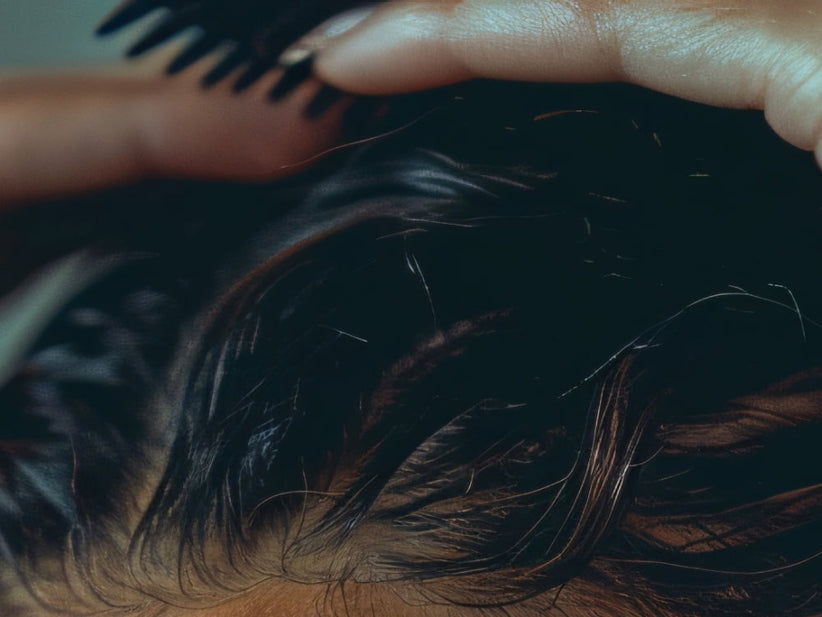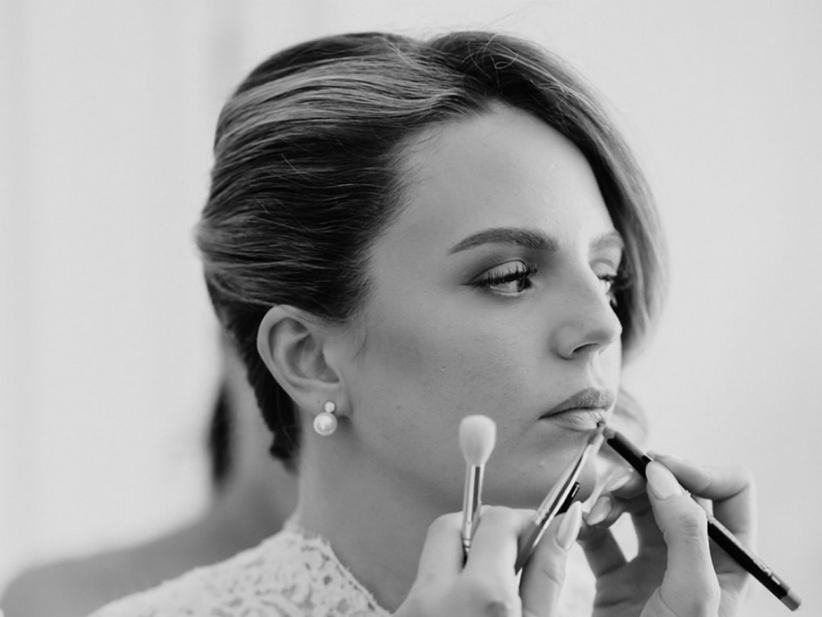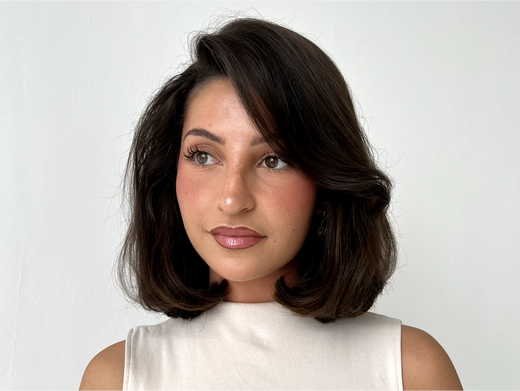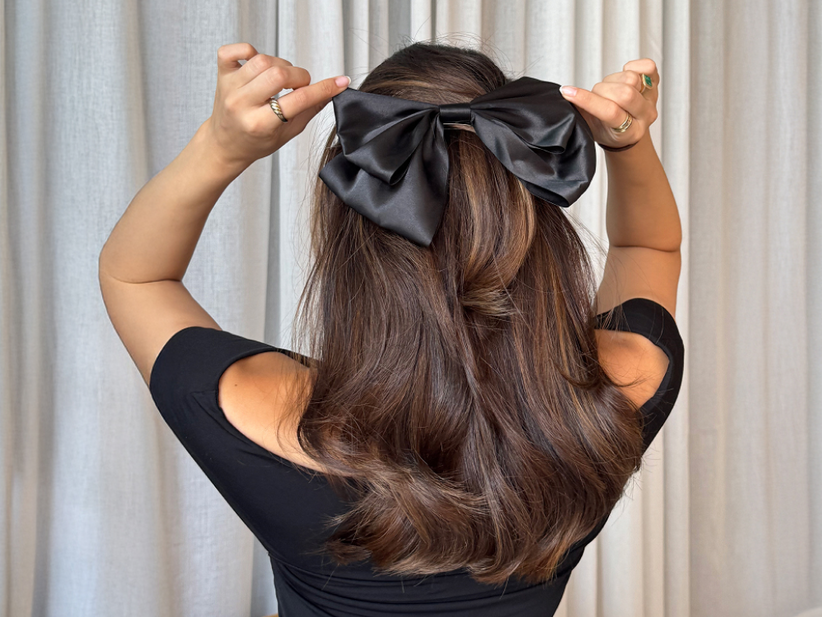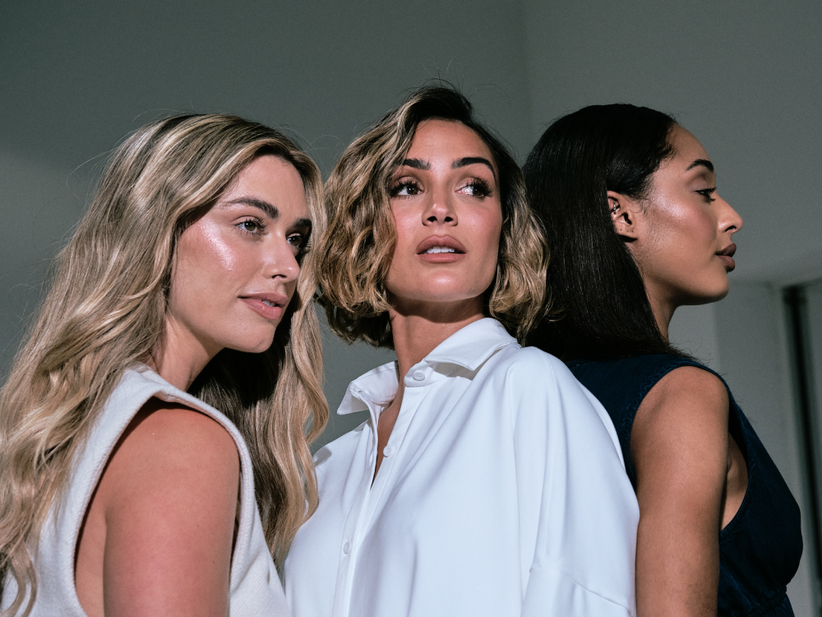


Technology never stands still, and heat styling should be no exception. If you’re still thinking of your hair straightener as a tool only made for pin-straight looks, it’s time to learn about all the possibilities cutting-edge styling irons offer.
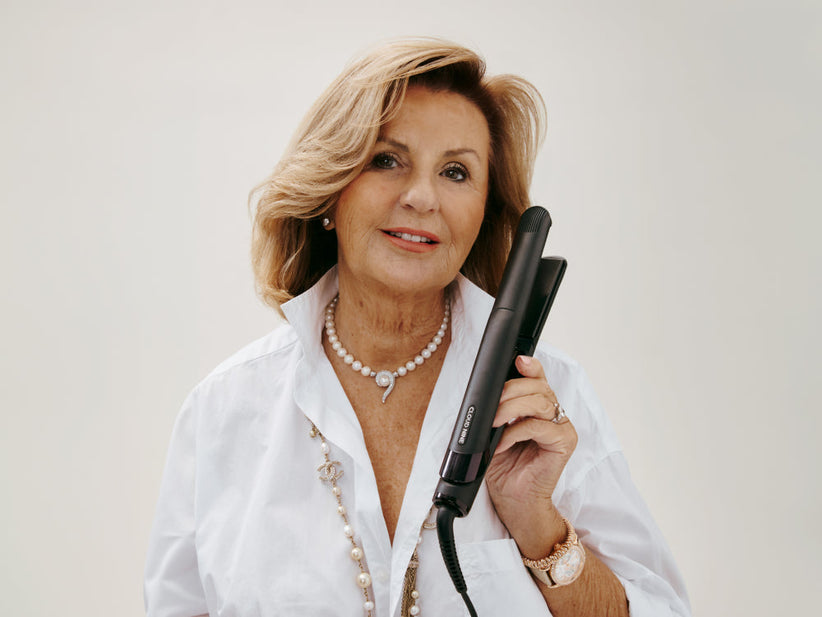
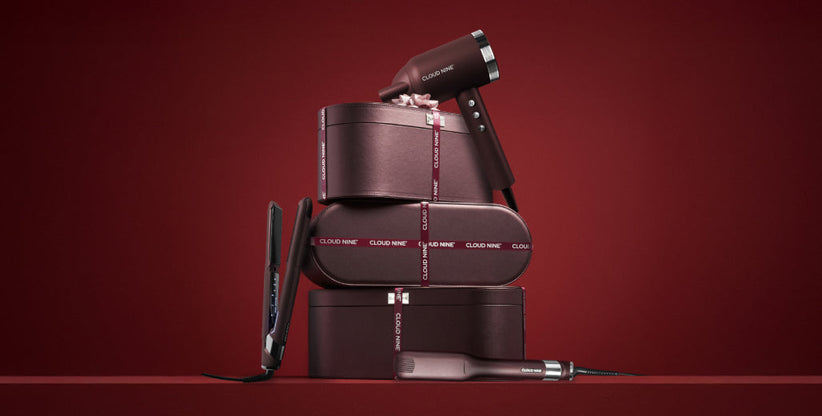
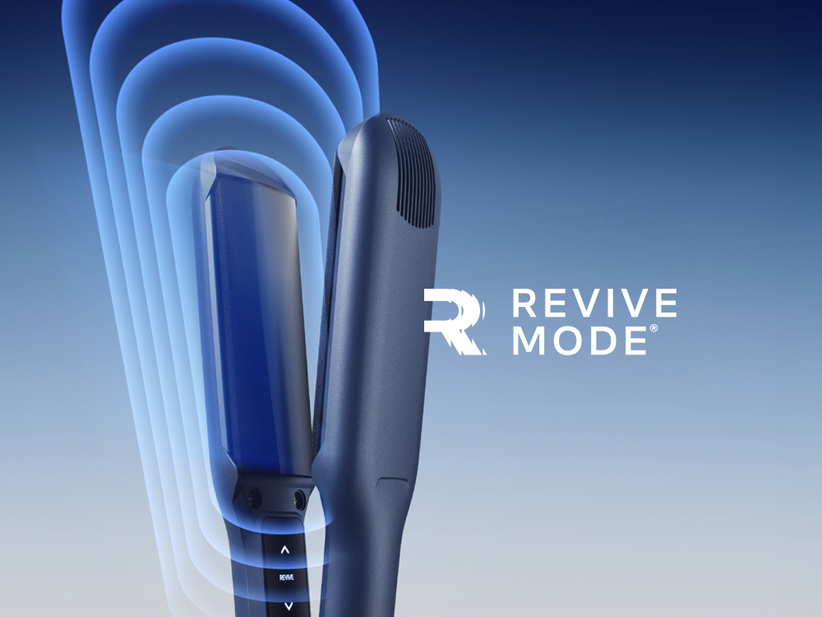
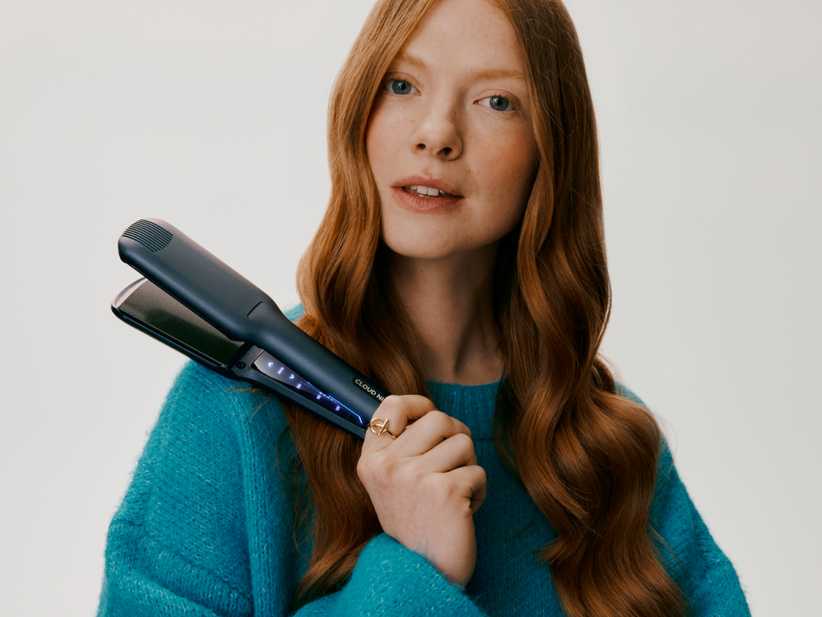
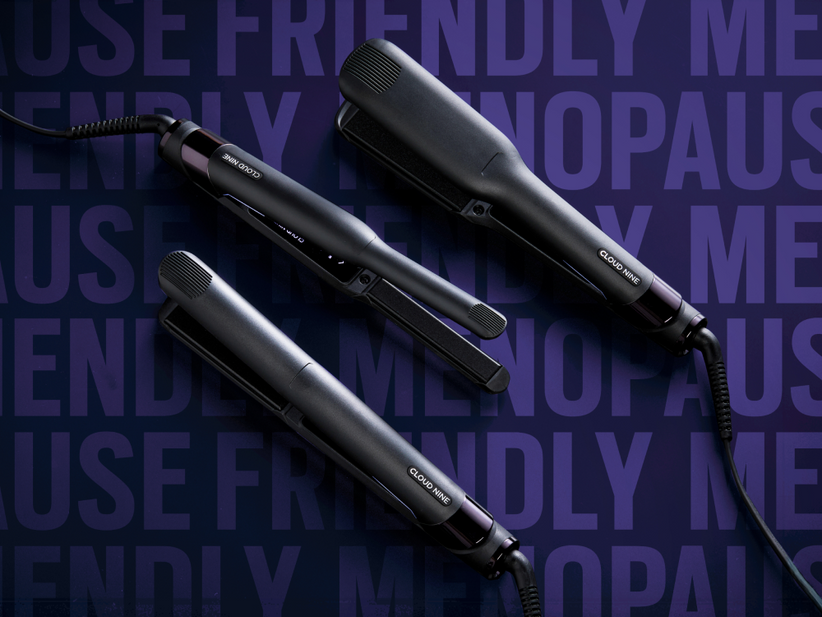
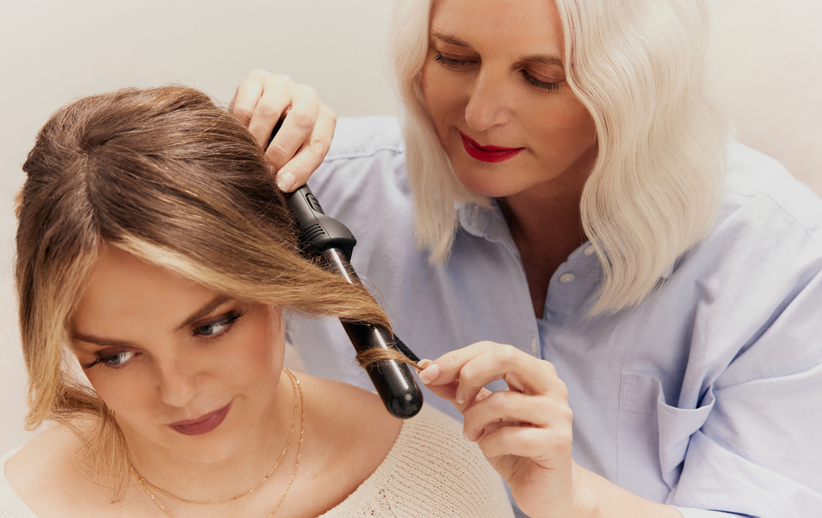
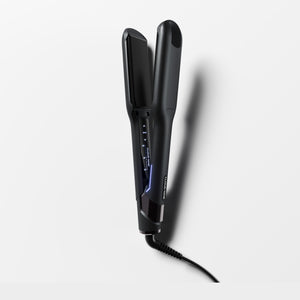
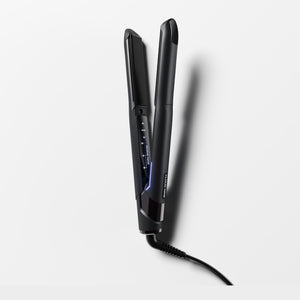
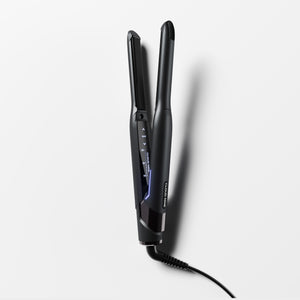
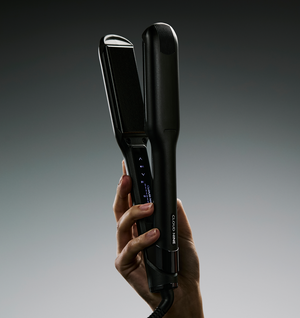
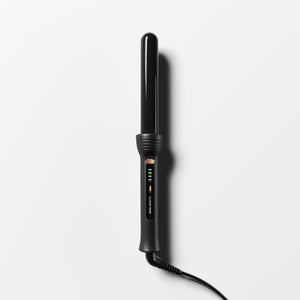
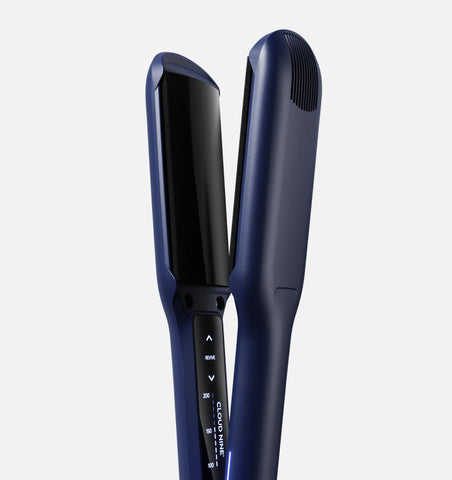
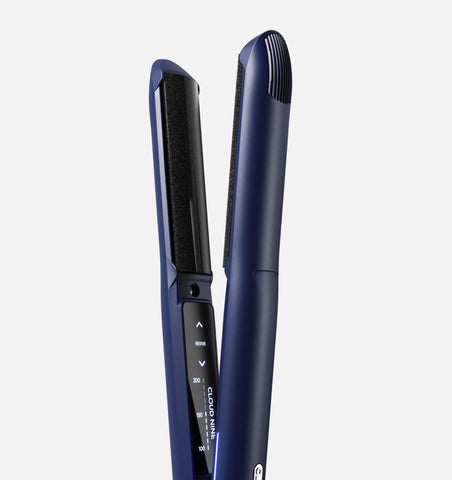
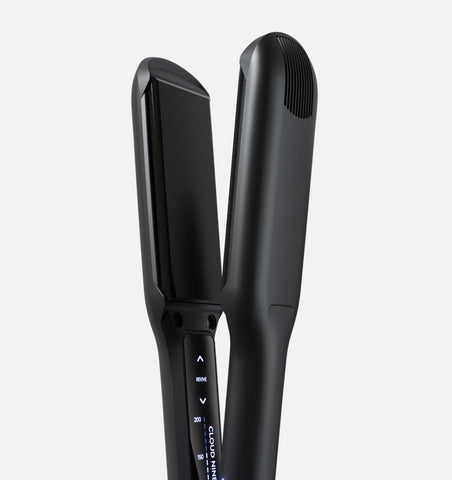
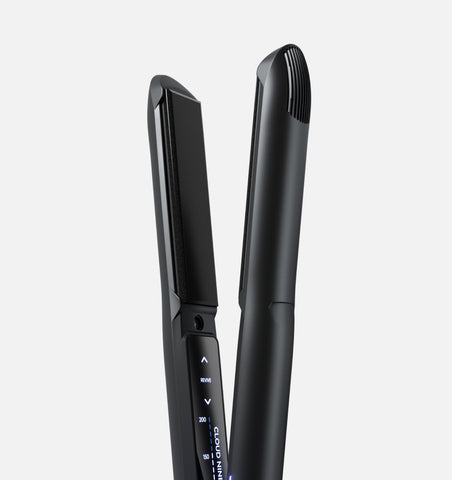
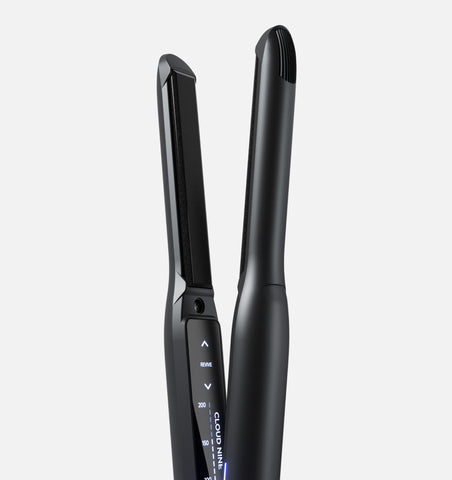
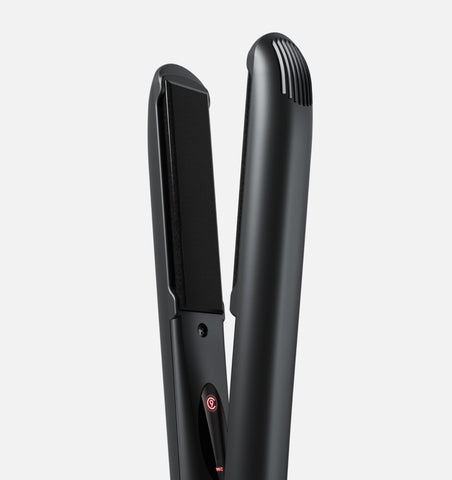
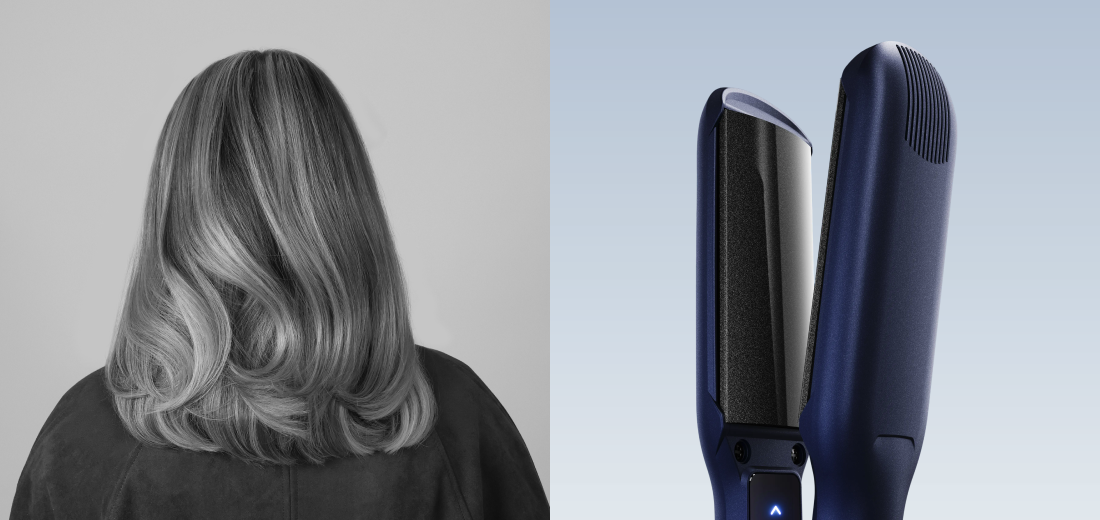
Our latest hair straighteners, the Contouring Irons, are our most advanced styling irons to date. With adaptable temperature control, pressure-reducing Revive Mode®, and Sericite®-infused plates, they bring heat styling up to date for every hair type.
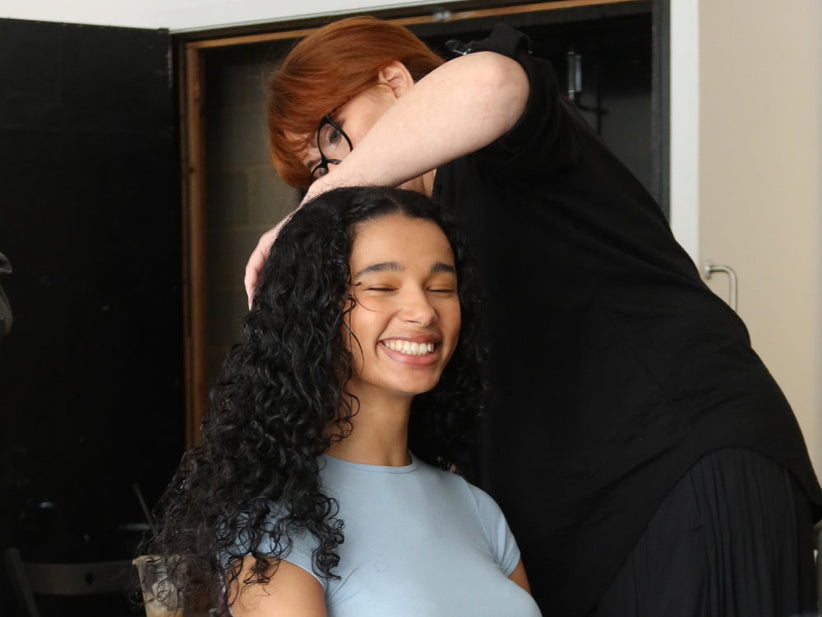
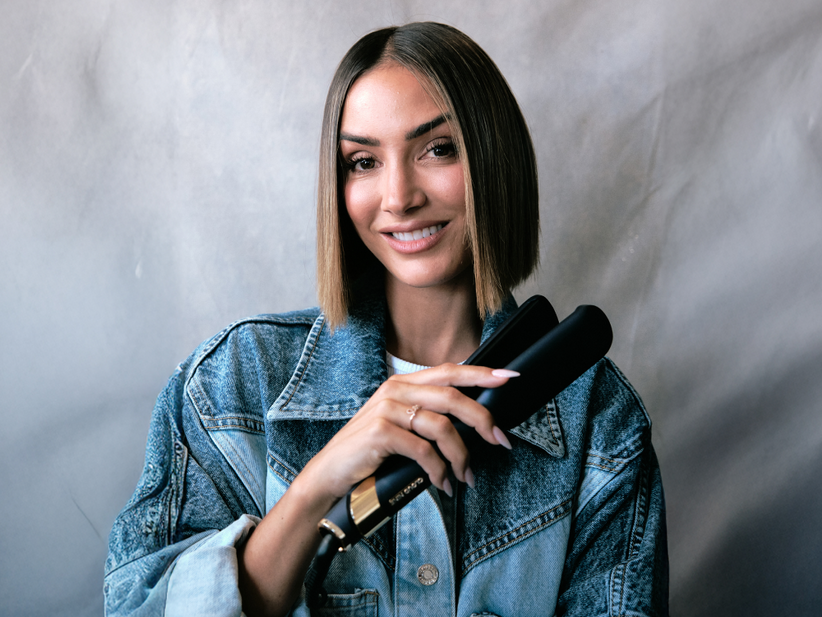
Whether you’re using the Contouring Original Iron, perfect for versatile everyday styling on all hair types, or the Contouring Wide Iron, designed for faster styling and relaxed finishes on longer, thicker hair, this is your guide to getting more from just one styling tool.
Key takeaways
The difference between good and great hair often comes down to how you prepare and approach styling. Keep these simple principles in mind for the best results every time:
- Always prepare hair with a heat protectant to and enhance health and shine.
- Style only on fully dry hair for a smoother, longer-lasting finish.
- Test any new styling products on one section first before applying all over.
- Choose products based on your environment (humidity, texture, hold needs).
- Check your styling temperature regularly using the Cloud Nine Temperature Calculator.
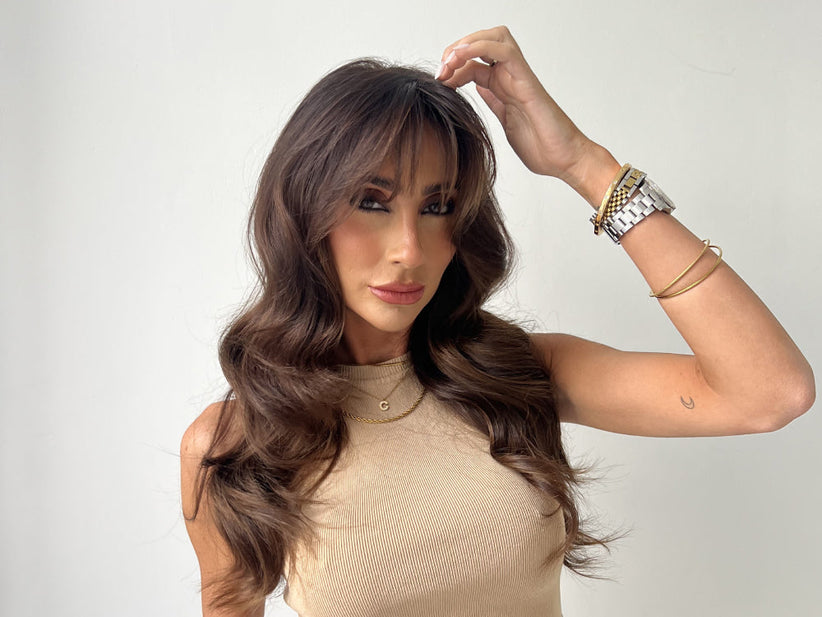
1. Sleek Straight
Best for: Smooth, glossy, everyday hair
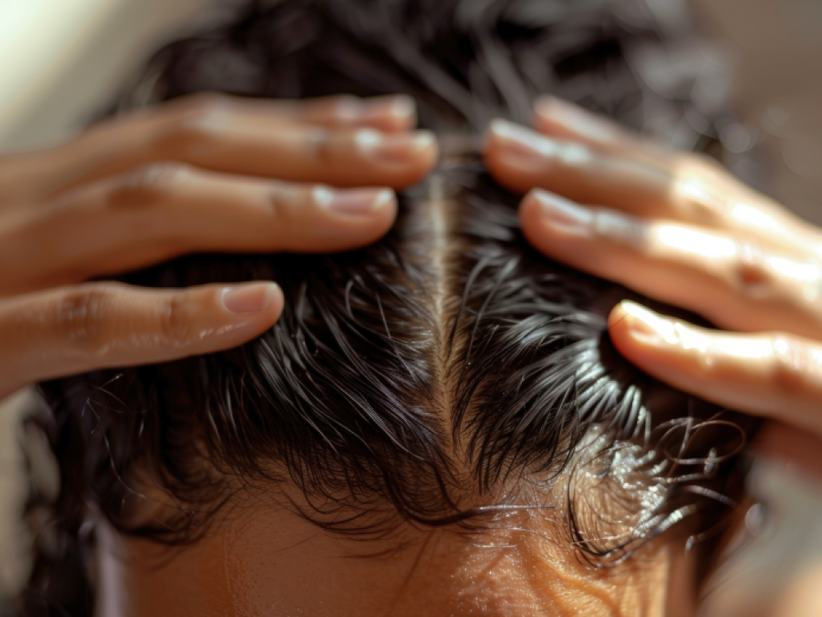
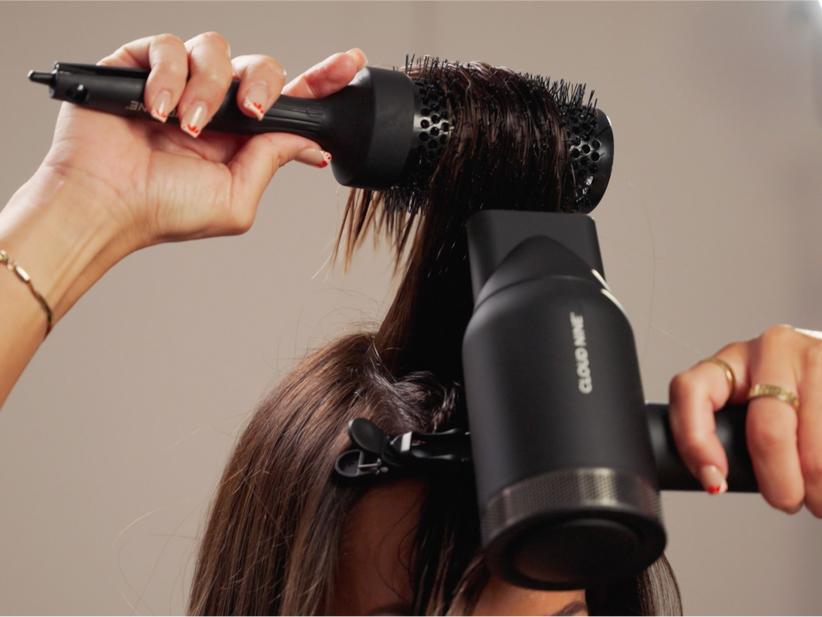
Start with clean, blow-dried hair for the smoothest finish.
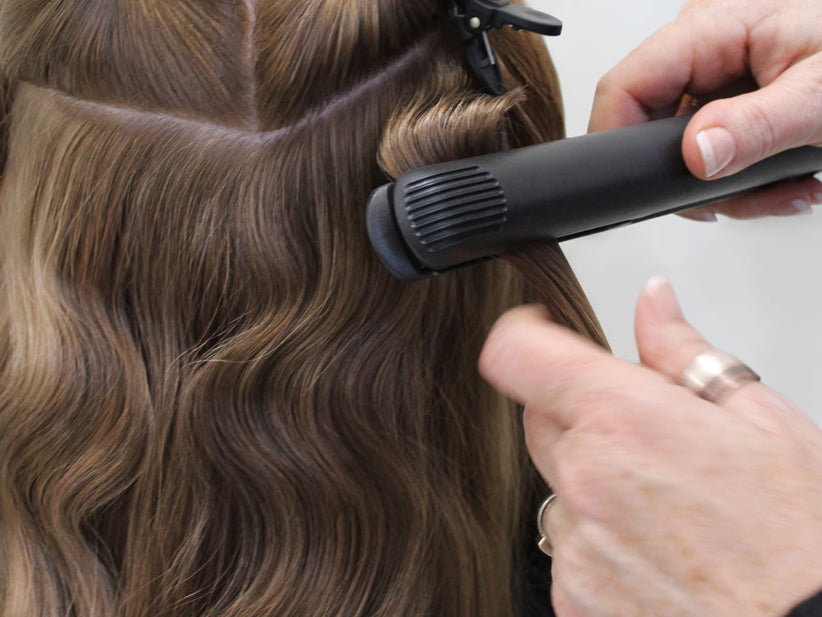
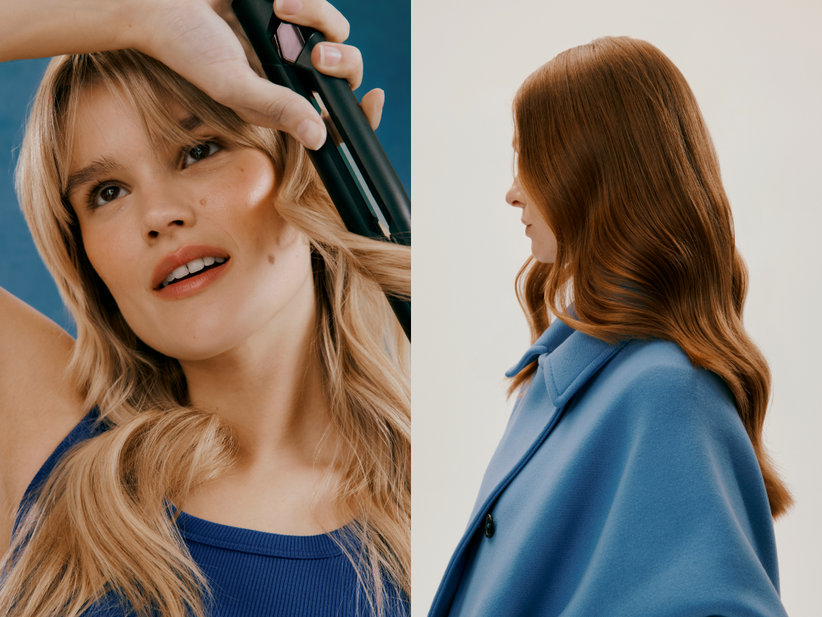
Working in small sections from the nape, use the follow and chase method for ultimate control and shine. Place a comb at the base of the hair, around an inch from the root, then position your Contouring Original Iron just behind it. Glide both down the hair together, following the section through to the ends in one fluid motion.
Repeat throughout the hair, keeping your movement slow and consistent for a polished, even result.
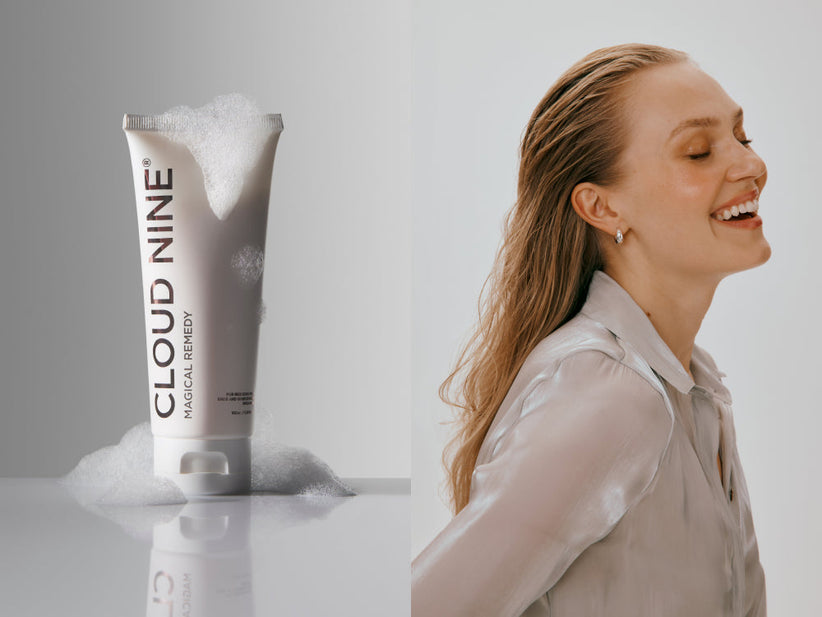
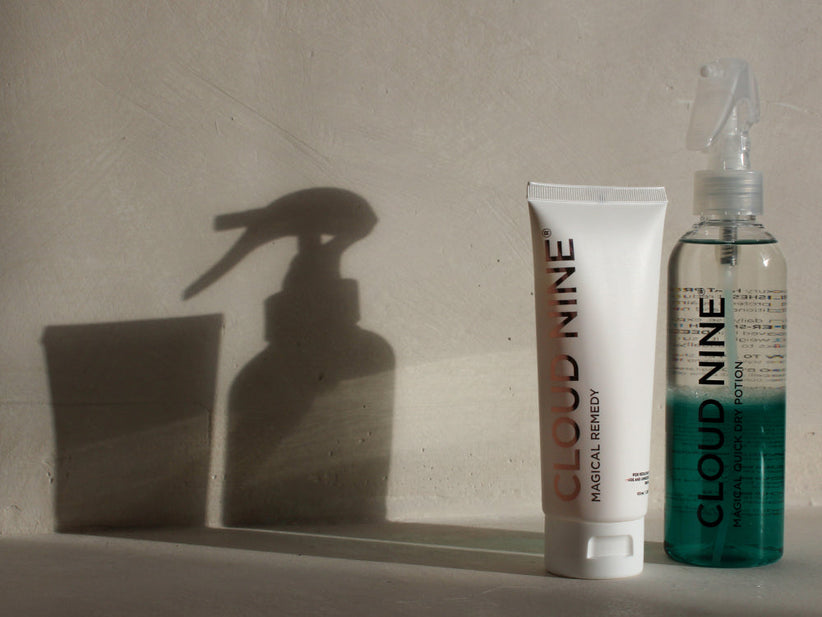
To finish, work a pea-sized amount of Magical Remedy through the mid-lengths and ends to smooth, add shine, and perfect the look.

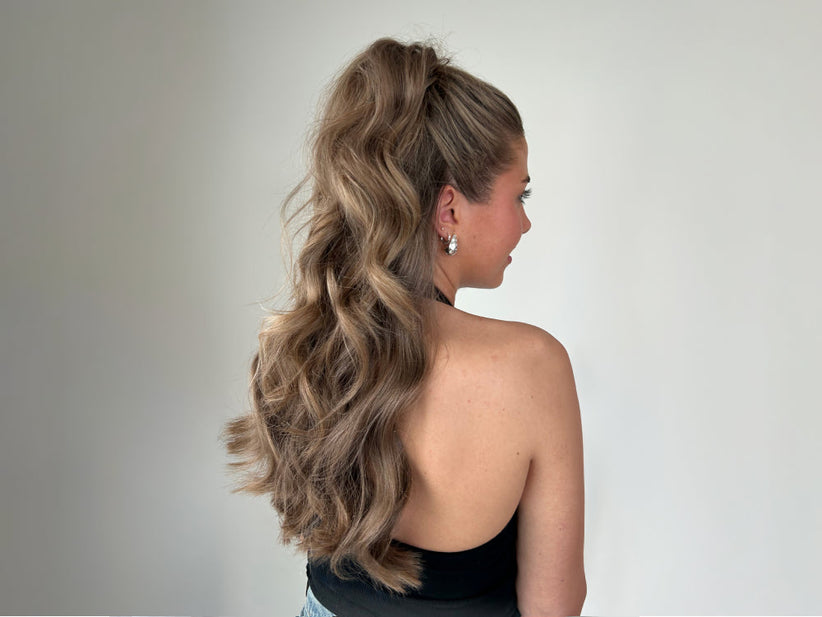
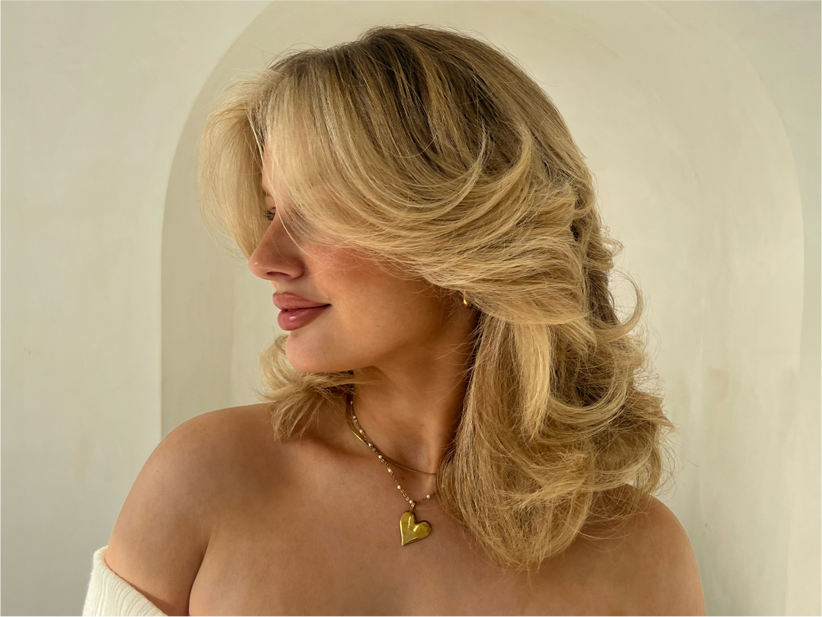
2. The Faux Blow Dry
Best for: Volume and bounce
Start with dry hair, prepped with a volumising mousse at the roots and blow-dried in for lift, then choose your preferred parting.
Working in horizontal sections, use the Contouring Wide Iron to lift hair at the root and glide through once, gently curving to create a soft, bouncy bend. Pin each section to cool and set, then lightly mist with your anti-humidity spray and hairspray of choice. Once fully cooled, remove the clips and brush through to soften and blend.
Finish with a pea-sized amount of Magical Remedy through the lengths and ends for a smooth, polished result.

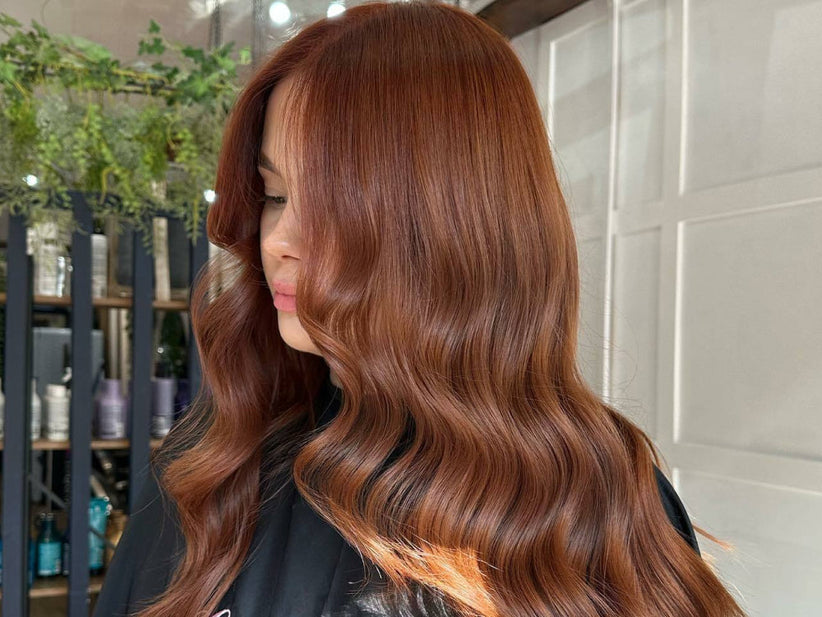
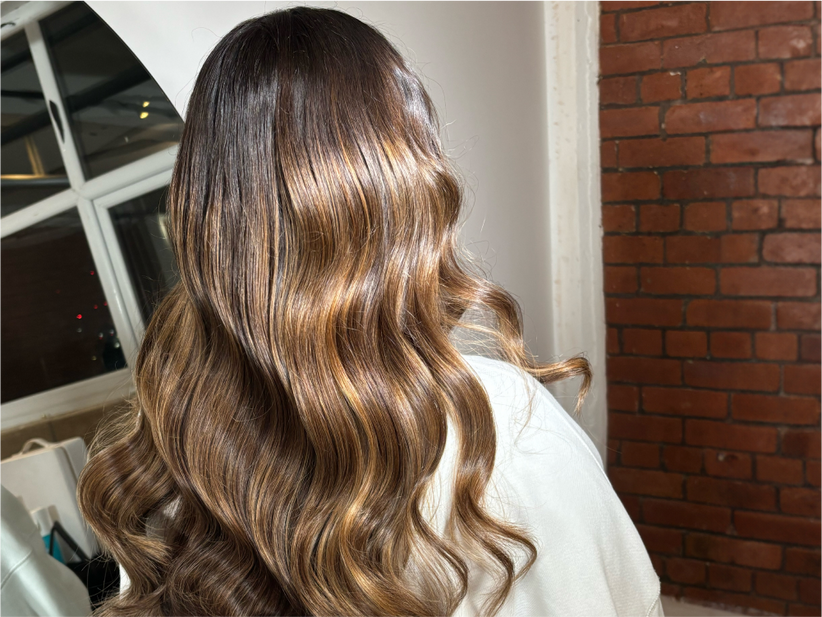
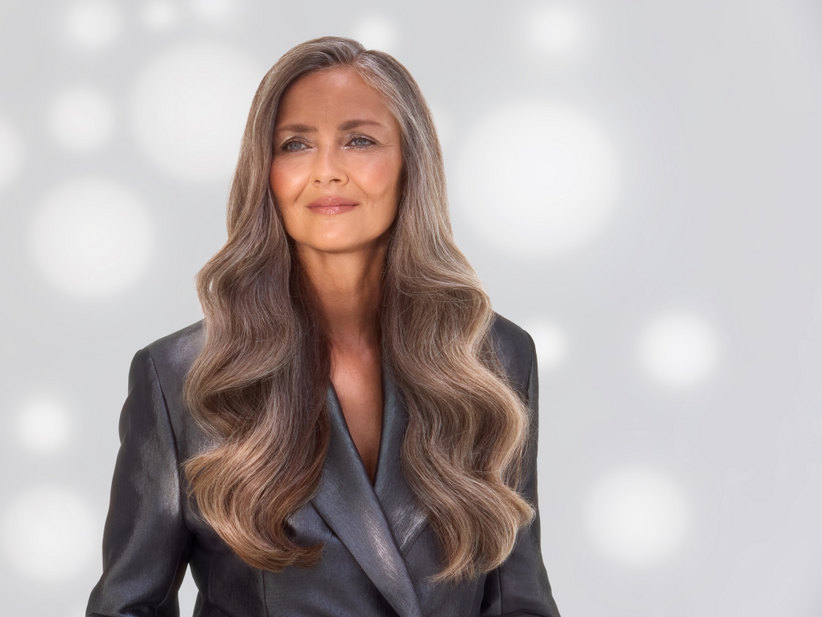
3. Loose Vertical Waves
Best for: Effortless, modern texture
Start with 100% dry hair and mist through a light texture or sea salt spray for grip and hold.
Section the hair vertically and choose your Contouring Iron size depending on the finish you want. The Contouring Original Iron’s 1-inch plates are great for creating tighter waves, whereas the Contouring Wide Iron’s 1.5-inch plates work best for creating softer, more relaxed movement.
Working through each section, angle your iron slightly downward, twisting in alternating directions (clockwise and anticlockwise) as you glide through the hair, and continue this motion down the full length to build natural-looking texture. Repeat around the head until all sections are waved.
Allow the hair to cool completely before touching, then lightly mist with hairspray to set.
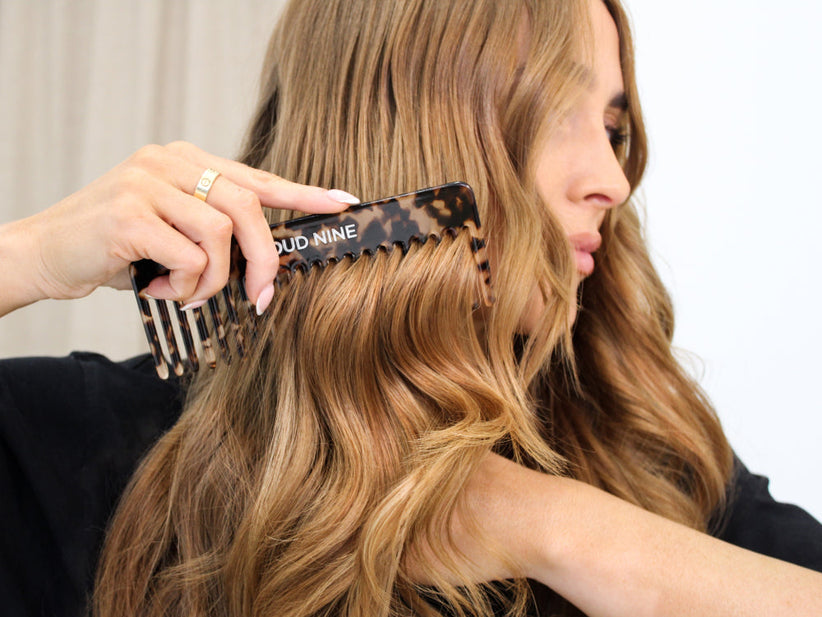
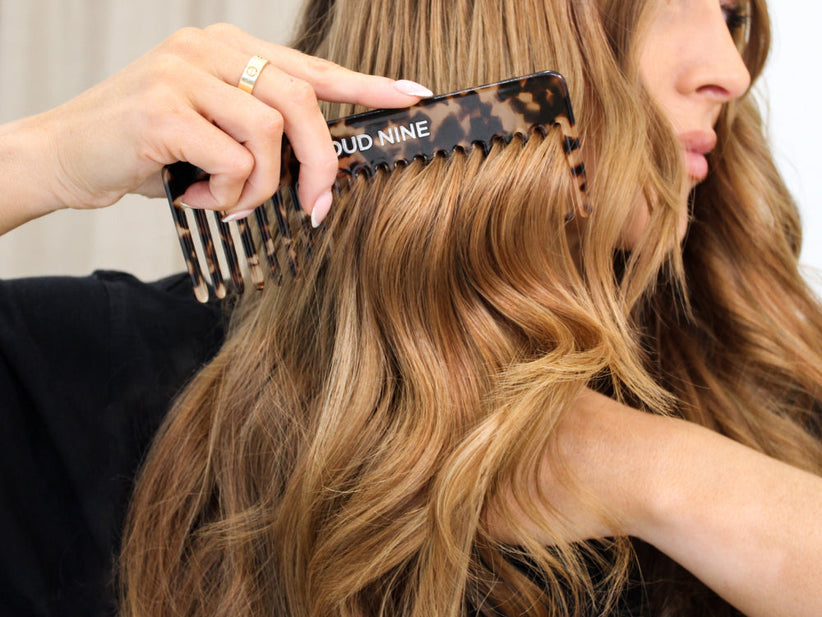
To set your style, apply a pea-sized amount of Magical Remedy for a polished wave, or gently break up the texture with the Cloud Nine Texture Comb for a more relaxed, lived-in finish.

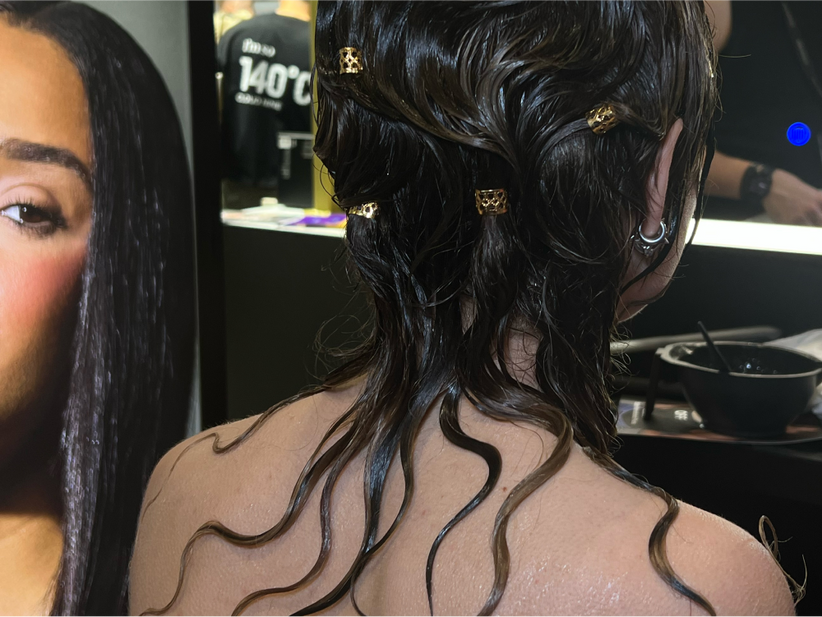
4. Horizontal Curls
Best for: Polished, structured looks
How to: Horizontal Curl
Start with 100% dry, blow-dried hair. Prep with a half pea-sized amount of Magical Remedy, followed by your texture spray of choice from root to tip for grip and hold. Lightly mist with a flexible hairspray and add a touch of shine spray or light oil if desired.
Begin at the nape, working in horizontal sections. Take 1½-inch pieces, place the Contouring Original Iron horizontally to the head, close the plates, rotate a quarter turn away from the face, and glide through while wrapping the ends around the barrel to form a smooth curl.
Pin each curl to cool, working from bottom to top around the head. Once set, release curls starting from the nape and gently brush through to form soft, deep waves.
Finish with a light gloss spray and softly dress out for movement, keeping hairspray minimal to maintain a touchable finish.

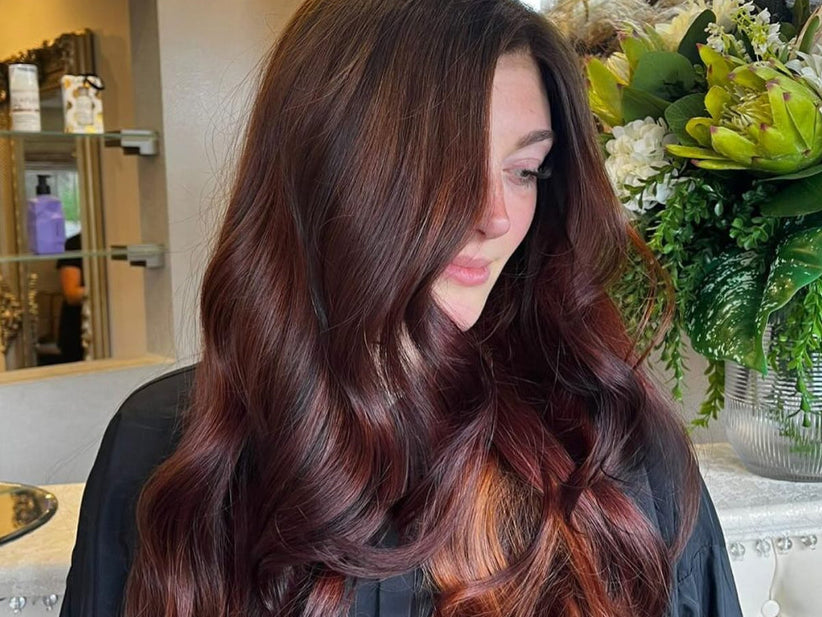
5. Mermaid Waves
Best for: Beachy, statement texture
Start with 100% dry, preferably blow-dried hair. Mist lightly with anti-humidity spray and a flexible hairspray, then brush through to distribute evenly.
Working in horizontal sections (around 1½-inch deep), place either the Contouring Original Iron or the Contouring Wide Iron horizontally at the root. Clamp the hair between the plates, then create a rhythmic wave pattern by rotating the iron ¾ turn clockwise, then ¾ turn anticlockwise, repeating this motion as you move down the section. Continue until all hair is waved.
The first movement sets the root volume: rotate clockwise for a softer, flatter root, or anticlockwise for added lift.
Allow all sections to cool completely before touching. For a structured mermaid wave, leave as is; for a softer, more ethereal finish, gently brush through and mist with light texture or anti-humidity spray.
Finish with a touch of shine spray, a light serum or oil, or Magical Remedy as a smoothing, glossy balm through the ends.

6. Fluid Waves
Best for: Seamless, high-shine movement
This look is less about technique precision and more about flow – think movement that feels brushed into the hair rather than placed into it.
Start with fully dry, blow-dried hair, then mist lightly with texture spray and a flexible hairspray, working it through with your fingers instead of over-brushing it in.
Using the Contouring Wide Iron, take large, irregular sections and move vertically through the hair. Instead of setting a pattern, gently bend and redirect the iron as you glide down – soft twists, subtle shifts, nothing too defined. Let the movement respond to the shape of the face rather than forcing symmetry.
Once the whole head is done, leave the waves to settle without touching. When cooled, you can either lightly break them up with fingers for softness or leave them untouched for a glossier, fluid finish.
Finish with a small amount of Magical Remedy, just through the ends, to smooth and refine without weighing the movement down.

7. The Undone Wave
Best for: Relaxed, off-duty styling
Start with a smooth blow-dry so the foundation is clean, then resist the urge to over-prepare or over-section.
With the Contouring Wide Iron, work in loose, diagonal sections, but don’t commit to symmetry. Think scattered placement around the head rather than structured rows.
Instead of building a pattern, create movement as you go. Wrap hair loosely around the iron, changing direction each time so nothing feels too uniform or “done.” The result should feel slightly unpredictable, like the wave has happened naturally over time.
Once styled, leave everything completely alone while it cools. This is where the shape settles, so being hands off here is key to a long-lasting look.
When the hair has fully cooled and set, break it up gently with your fingers rather than a brush, lifting and separating only where it needs softness or face framing.
Finish with the lightest veil of hairspray and just a whisper of serum or oil through the ends – enough to catch the light, not enough to define the shape.

8. S Waves
Best for: Easy, wearable texture
S waves are built through rhythm and direction, creating smooth, continuous movement through the hair that feels elegant and refined, yet remains easy to recreate in practice.
To start, take 1½-inch sections and set your direction based on the result you want – horizontal placement for soft, laid texture or vertical for lift through the root.
Using the Contouring Original Iron, guide the hair through in a flowing S-shaped motion, bending the tool back and forth as you move down the length. Keep the movement steady so the wave reads seamless from root to tip.
Allow each section to cool completely before touching so the shape can set in place. Once set, gently break up the wave using fingers or the Cloud Nine Luxury Dressing Brush, shaping as you go rather than over-styling.
Finish with a light mist of shine spray to enhance the pattern and keep the movement glossy and fluid.

9. Barely-There Waves
Best for: Minimal, natural finish
Some days you just want your hair to fall into place without thinking too much about it. Barely-there waves help achieve exactly that: soft movement that feels like your natural hair, just lightly touched up.
Start with clean, dry hair and smooth through a very small amount of Magical Remedy to even the texture, followed by a light mist of anti-humidity spray and flexible hairspray. Brush through so everything is evenly prepped and soft to the touch.
Decide where you want the movement to begin – around the eyes, cheekbones, or lower through the jaw – to subtly guide the shape of the hair.
Working in soft sections, rotate the Contouring Original Iron once through each piece, then leave a small gap before repeating. This spacing keeps the finish airy and understated.
Allow the hair to cool completely so the shape can set naturally.
Finish with a light mist of shine spray, then gently dress out using fingers or the Cloud Nine Luxury Dressing Brush, breaking up any structure so the movement feels soft, loose, and effortless.

Whether you choose the Contouring Original Iron for all-round styling or the Contouring Wide Iron for deeper waves and thicker hair, the trick to longer-lasting hair sit right technique, and the right temperature make all the difference.
We’d love to see the looks you create with your Contouring Iron. Share your looks with us over on TikTok, Instagram or Facebook.