


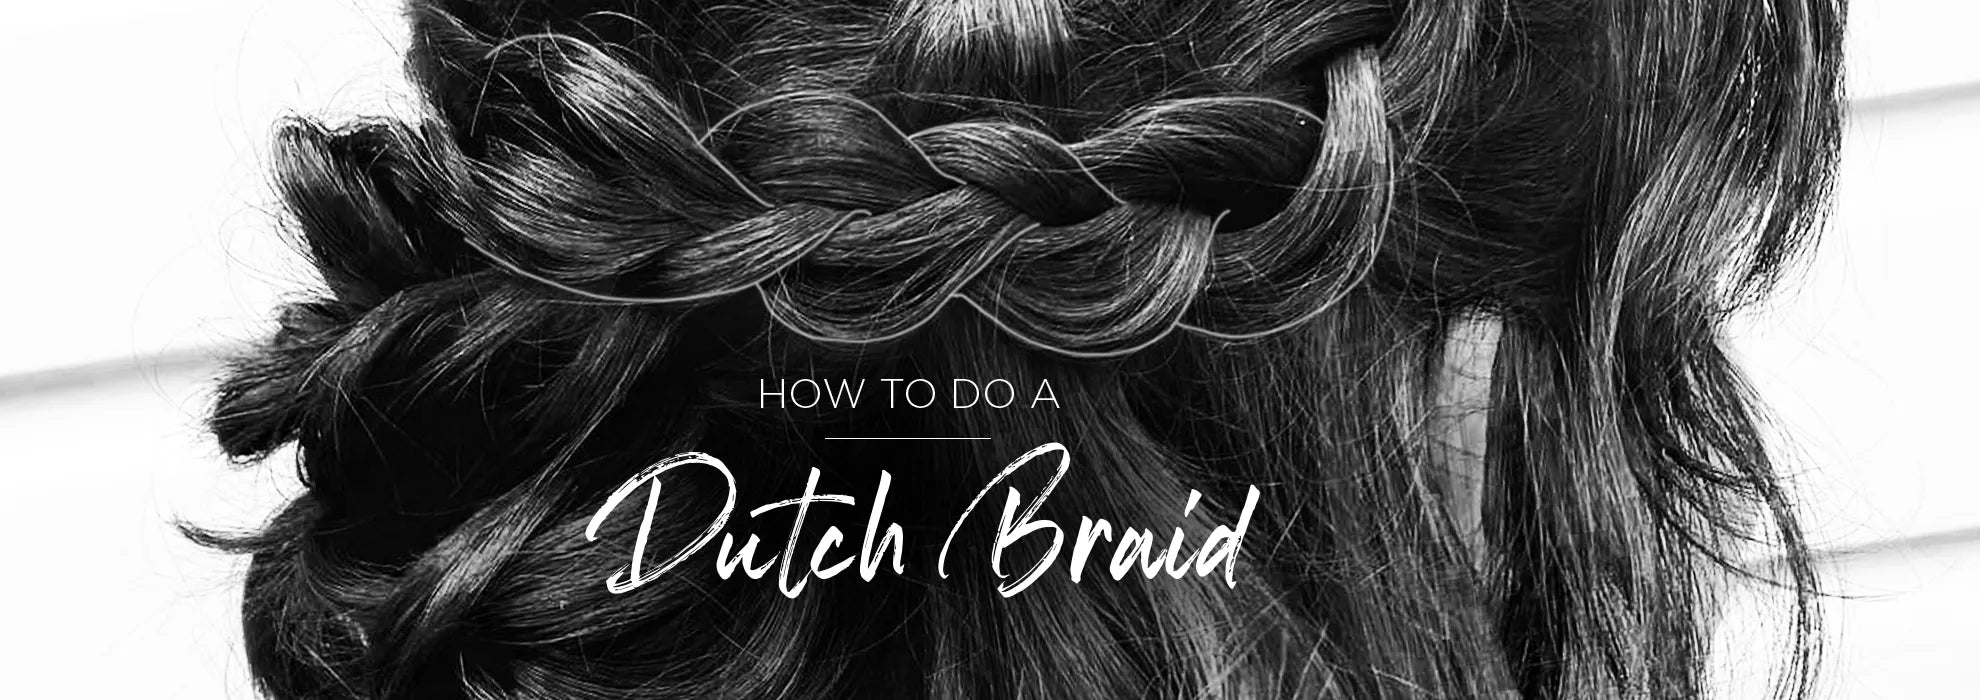
How to Dutch braid hair
A Dutch braid is a stylish and sophisticated hairstyle that looks complicated – but it’s much quicker and easier than you might think. It’s a braid that’s as versatile as it is comfortable, all while keeping hair out of your face, making Dutch braids an ideal hairstyle for the gym, work, or downtime.
So, whether you’re looking to conceal wash day roots, prevent hat hair on a cold day,
or prep your hair for the beach, read our full guide to learn how to braid Dutch and discover the range of hairstyles you can create with this timeless braiding style.
What are Dutch braids?
Made popular in the Netherlands in the 17th century, the Dutch braid involves three strands of hair – just like a standard plait. However, in a Dutch braid, each strand is crossed underneath the rest, one after another. The result is a textured, ‘puffy’ 3D braid which stands proud from the head, rather than sitting flush to it. And while it might be called Dutch, it traces its origins to a number of ancient civilisations across the globe.
What you’ll need for creating a Dutch braid
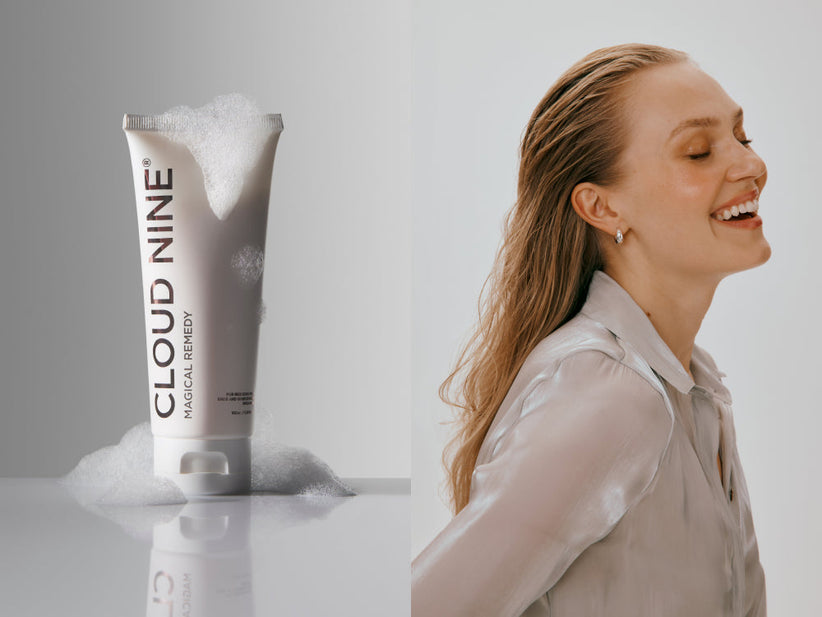
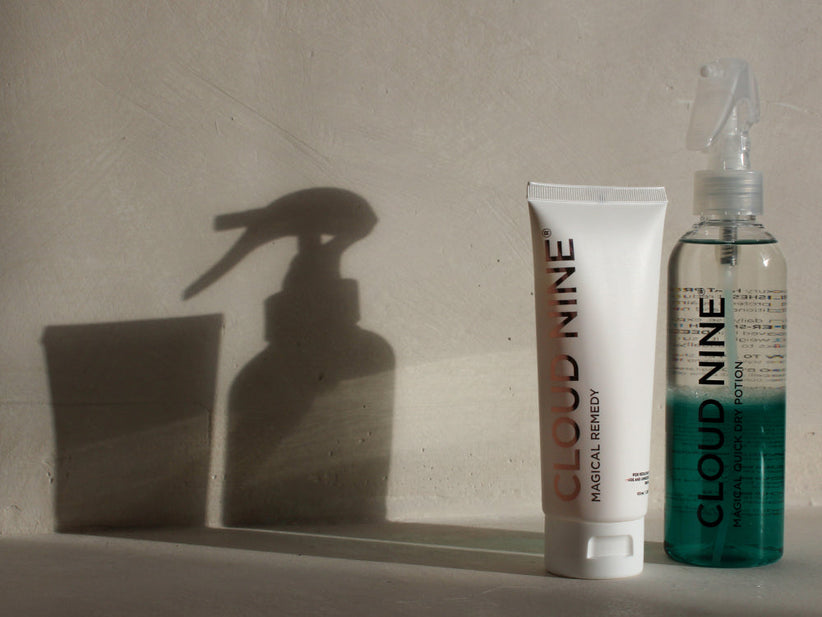
- Moisturising leave-in hair conditioner, like Cloud Nine Magical Remedy
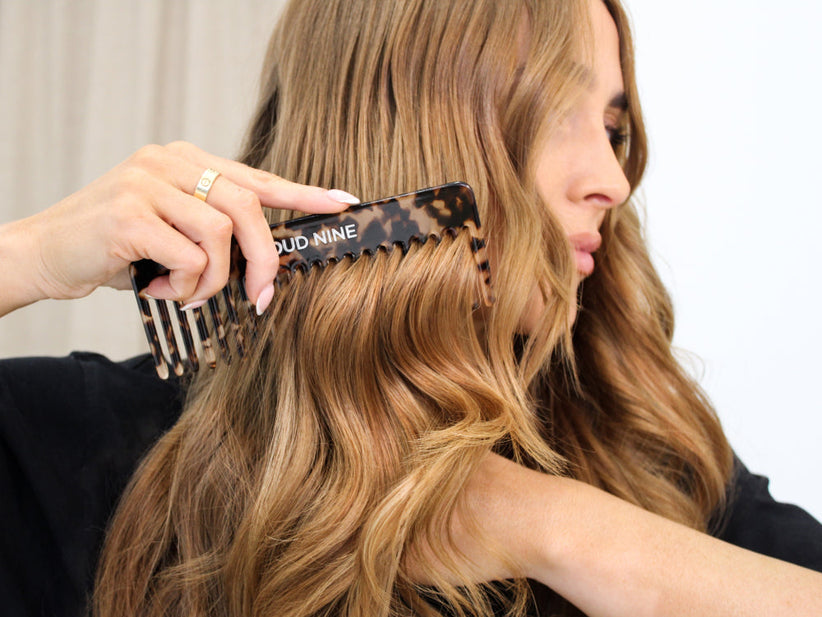
- The Cloud Nine Luxury Paddle Brush
- A tail comb
- Snag-free hair ties
How to do a Dutch braid
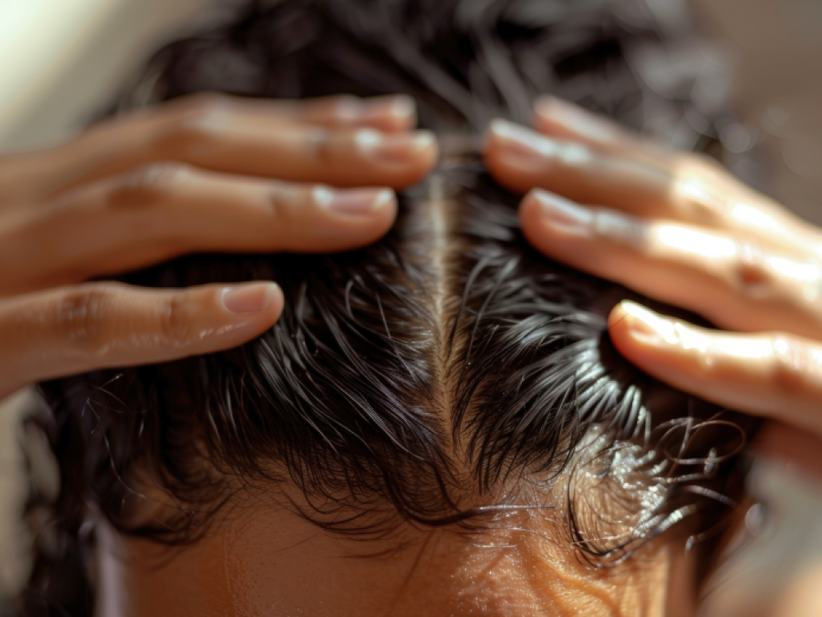
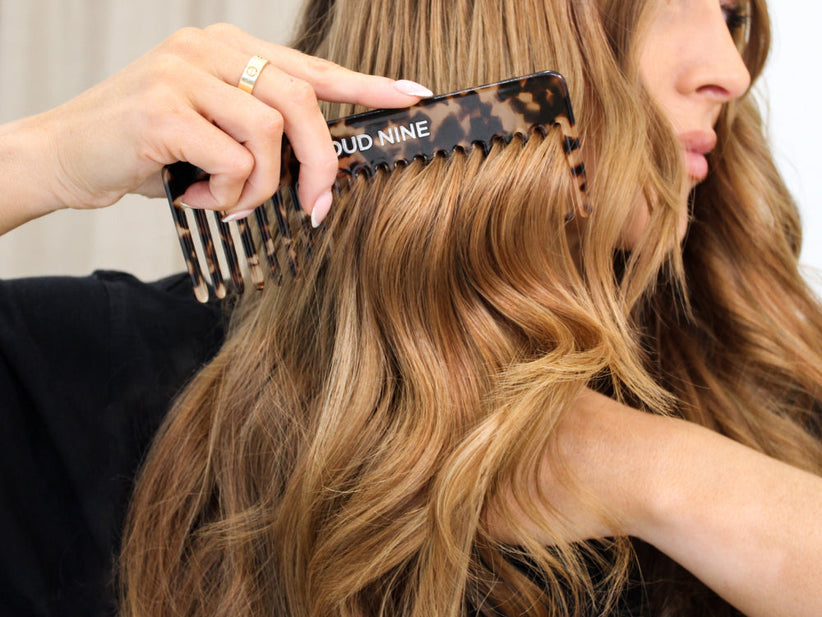
- Using your Luxury Paddle Brush, brush your hair from root to tip, making sure to get rid of any knots or tangles.
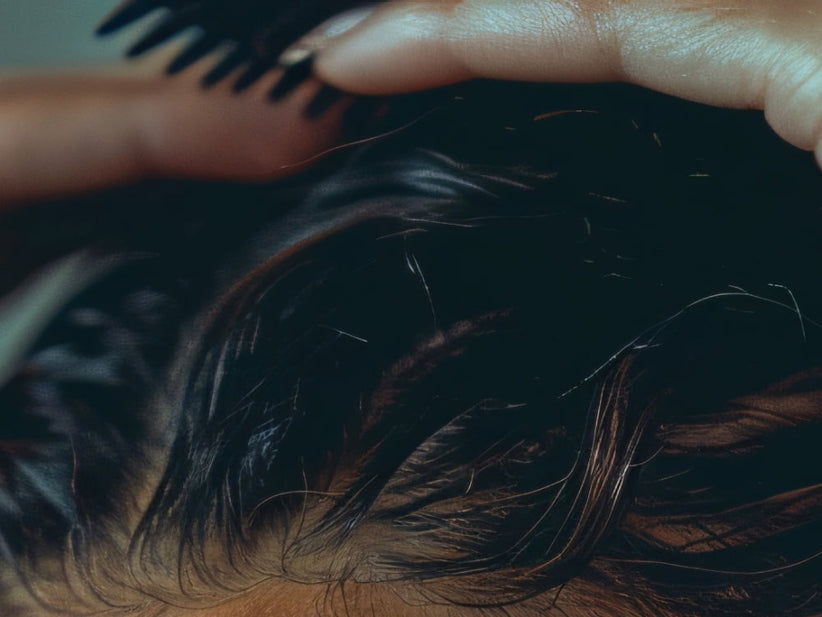
2. Split your hair into three even sections using a tail comb.
3. Begin Dutch braiding at your hairline. Pick up a smaller handful of hair from each section. Pass the outer strand of hair under the middle strand.
4. Repeat with the inner strand, all the while using your bottom two fingers to grip the ends of your braid to your palm securely, preventing it from unravelling.
5. From the next pass, begin collecting more strands of hair into each of the three sections before passing them under, thickening your plait as it progresses down the centre of your scalp.
6. Continue the previous steps throughout the full length of your hair, passing more strands into the braid each time. Once your plait reaches the nape of your neck, all your hair should be incorporated into the braid.
7. Now, continue braiding as normal, without adding any more hair.
8. Once you reach the ends of your hair, secure with a snag-free hair tie.
9. Once your braid is complete, rub a pea-sized amount of Magical Remedy in between your palms, then smooth it over your braids to moisturise and tame flyaways.
Tips for perfect Dutch braids
When you’re ready to put our Dutch braiding tutorial to the test, try these handy tips to improve:
· Keep it sleek: For a smooth and tidy braid, exert gentle tension on all three strands of your plait to keep every pass as tight as possible. This results in a more defined, neat look, with fewer flyaways.
· Mix it up: For a softer, more boho-inspired finish, keep your tension loose. This delivers a feathery effect with elegant escaping tendrils. You could even gently tug on the edges of your finished braid for a looser, undone finish.
· Don’t wash before you braid: For best results, braid hair that’s had two or three days since its last wash. The natural oils help the braid grip, preventing hair from slipping out. Plus, it’s a great style to push hair-wash day back, as it hides oily roots.
5 Dutch braid hairstyles
Now you know how to do a Dutch braid, you can use your new skills to create more
complex Dutch plait-inspired styles.
1. Classic Dutch braid
The style you’ve just learned to create – it’s classy, versatile, and makes everyone think you’ve tried much harder than you have.
2. Two Dutch braids
Double the braids for double the style. To create this look, simply section your hair in two, securing one side while you braid the other, then repeat for the second section.
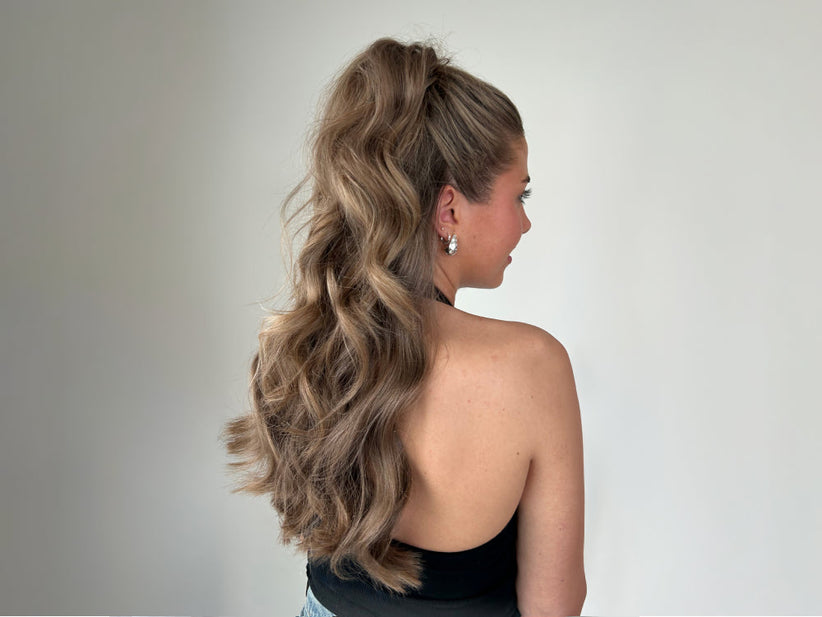
3. Dutch braid ponytail
Blending the classic ponytail with the timeless braid, this look is the best of both worlds. Instead of continuing your braid all the way down the back of your head, stop at the crown of your head and secure it into a high pony, along with the rest of your hair.
4. Dutch braid pigtails
Packed with attitude, this style is ideal for styling shorter hair lengths – like bobs and pixie cuts. Follow the Dutch braid ponytail method, but section your hair in half first, and repeat for each side, creating 3D braids that lead into volume-packed pigtails.
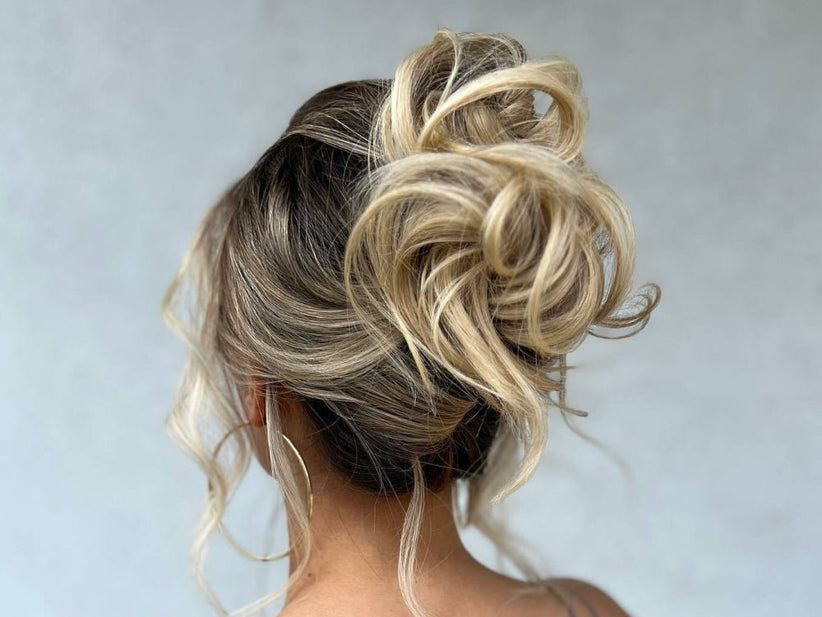
5. Dutch braid bun
If you need your hair
completely secure, this style is ideal for you. Simply stop plaiting at the
nape of your neck and secure it into a ponytail with a hair tie. Twist the
ponytail into a low bun and secure it with another hair tie.
Dutch braid FAQ
While you now know how to Dutch braid, you might still have a few questions about the
style. Here are the answers.
What’s the difference between Dutch and French braids?
Dutch braid vs. French braid – the two key differences:
· French braids cross each section of hair over one another, while Dutch crosses them underneath, as described above.
· The French braid lays flush to your head, appearing flatter and more ‘woven’ into
your hair. The Dutch version stands proud from your head, giving a puffy, 3D impression.
Is a Dutch braid over or under?
Dutch braids are plaited under, not over. Each outside strand is woven underneath the middle of the braid, one at a time. This results in a unique, 3D look.
Is a Dutch braid a protective hairstyle?
Dutch braids can offer some protection to the hair. As a secure style, they can be used to shield from environmental stressors, prevent breakage, and help the hair retain its natural moisture. Combine your hairstyle with a leave-in conditioner or hair mask like Cloud Nine’s Magical Remedy for the ultimate protective hairstyle. Remember to use snag-free hair ties, such as those made of silk, to minimise friction and prevent split-ends.
Are Dutch plaits the same as Dutch braids?
Yes, Dutch plaits and braids are two different words to describe the same hairstyle.
Can you Dutch braid extensions?
Extensions are suitable for Dutch braiding.
Consult the manufacturer of the extensions – or the stylist who installed them – before applying any products to your extensions. Always handle extensions with the same gentle approach you take to your own hair, whether they’re made from human hair or synthetic fibres. If you know how to do Dutch braids on your own hair, it’s just as simple to do them with extensions – it just takes a little more time.
Is Dutch braiding suitable for all hair types?
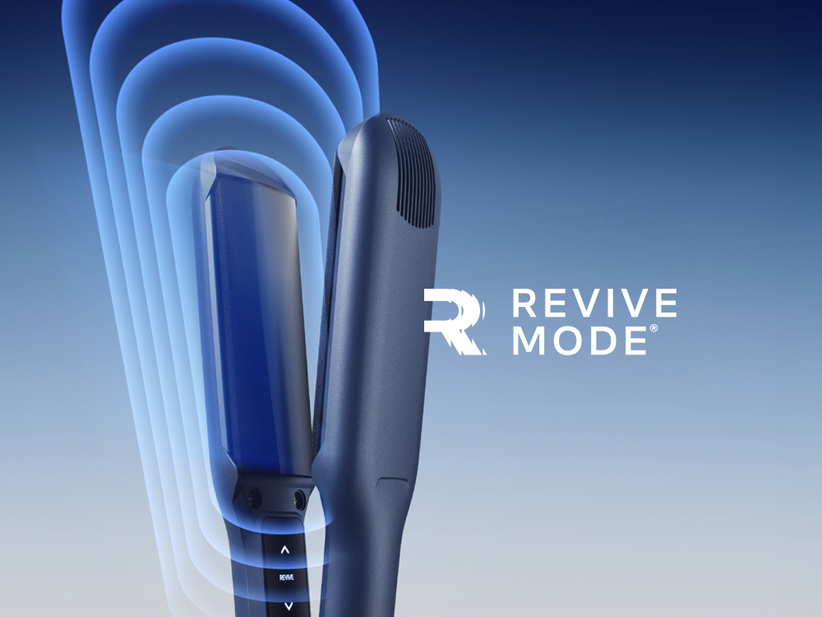
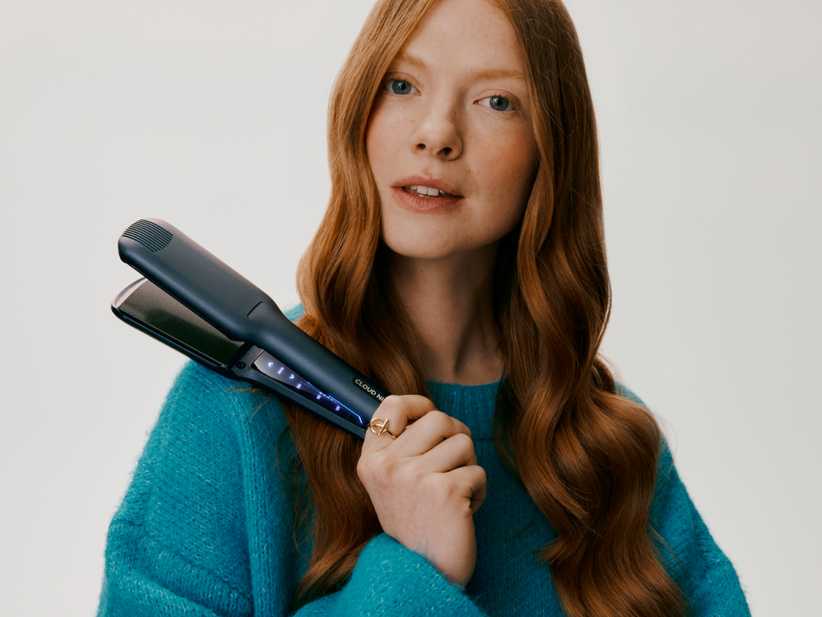
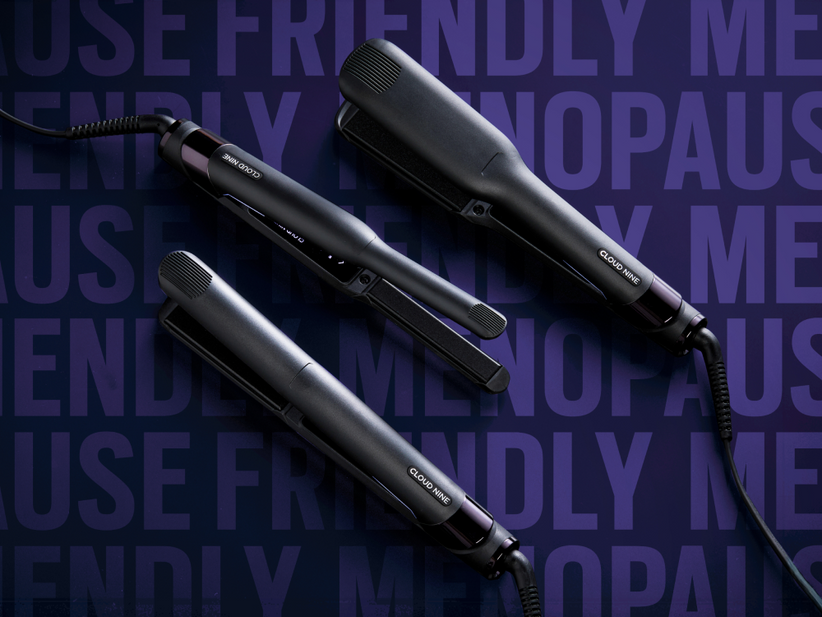
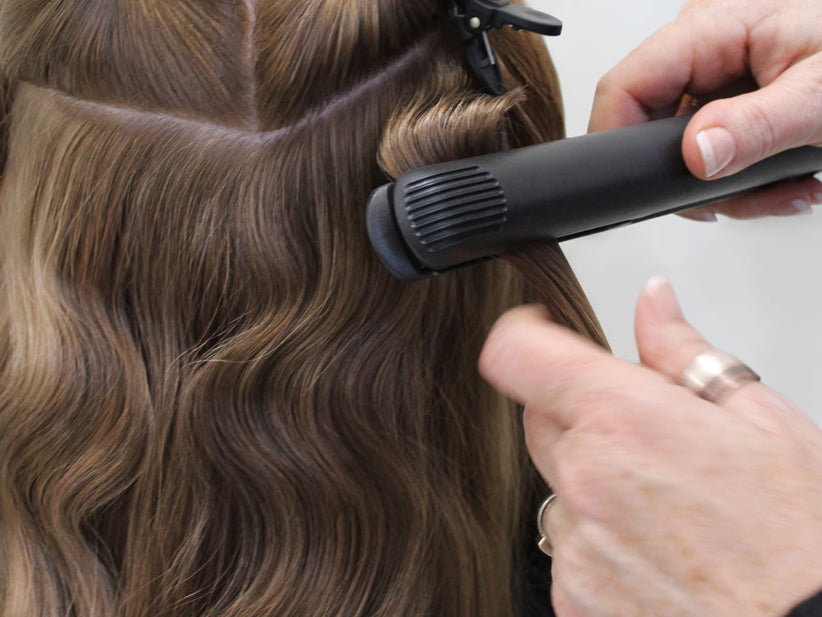
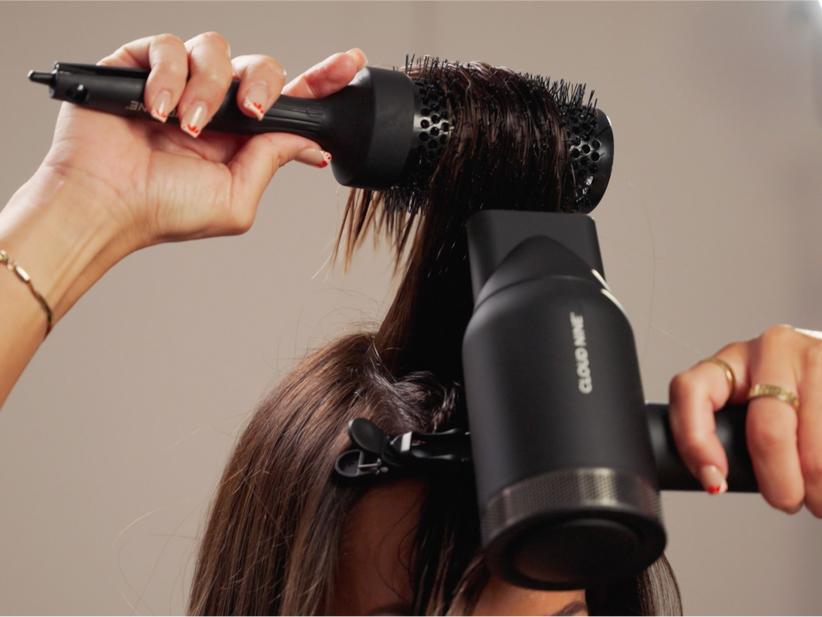
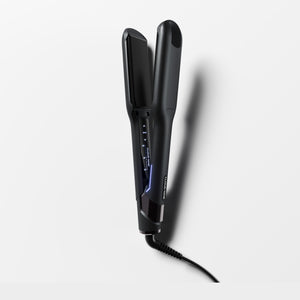
All hair types can be braided in the Dutch style. If you have thick, tightly curled or coiled hair, you may prefer to straighten your hair before braiding for a smoother result. We recommend the Cloud Nine Contouring Wide Iron for gentle, efficient straightening.
You may also like…
If you found this guide useful, why not check out some others?
20 Beach Hairstyles For That Holiday-Ready Feeling
Gorgeous Summer Hairstyles For Long Hair
20 Gym Hairstyles To Boost Your Confidence While Working Out